Mastering nature photography requires a blend of technical skill, patience, and a deep understanding of the natural world. It is about capturing the essence of a landscape, the intricate details of a macro subject, or the fleeting moment of wildlife in its habitat. This article will delve into the practical aspects of nature photography, providing actionable advice for photographers seeking to elevate their craft.
A foundational understanding of exposure is paramount for any aspiring nature photographer. Exposure dictates how light or dark an image appears and is controlled by three primary settings: aperture, shutter speed, and ISO.
Aperture: Controlling Depth of Field
Aperture refers to the opening in the lens that controls the amount of light reaching the camera’s sensor. It is measured in f-stops (e.g., f/2.8, f/8, f/16). A smaller f-number (larger aperture opening) results in a shallower depth of field, meaning only a narrow plane of the image will be in sharp focus, with the background or foreground blurring. This is often desirable for isolating subjects in wildlife or macro photography. Conversely, a larger f-number (smaller aperture opening) yields a greater depth of field, keeping more of the scene in focus, which is typically preferred for sweeping landscapes. Experimenting with different aperture settings allows the photographer to control the visual emphasis within their frame.
Shutter Speed: Freezing or Blurring Motion
Shutter speed determines the duration for which the camera’s sensor is exposed to light. Measured in fractions of a second (e.g., 1/1000s, 1/60s) or even several seconds, it plays a crucial role in capturing or conveying motion. A fast shutter speed (e.g., 1/1000s or faster) will freeze fast-moving subjects like birds in flight or splashing water, rendering them sharply. Conversely, a slow shutter speed (e.g., 1/30s or slower) can be used creatively to introduce motion blur, often to soften turbulent water, create streaky clouds, or depict movement in a more artistic fashion. When using slow shutter speeds, particularly in low light, a tripod becomes an indispensable tool to prevent camera shake and ensure sharpness in stationary elements.
ISO: Sensor Sensitivity
ISO represents the camera sensor’s sensitivity to light. A lower ISO setting (e.g., ISO 100, ISO 200) results in less noise and higher image quality, but requires more light or longer exposure times. A higher ISO setting (e.g., ISO 800, ISO 1600, ISO 3200) increases the sensor’s sensitivity, allowing for shooting in low-light conditions or with faster shutter speeds, but comes at the cost of increased digital noise, which can degrade image quality. Photographers aim to use the lowest possible ISO that allows for a correct exposure to maintain image fidelity. Modern cameras offer impressive high-ISO performance, but understanding its trade-offs remains essential.
Essential Gear for Nature Photography
While skill and vision are paramount, having appropriate gear can significantly enhance a photographer’s capabilities in the field.
Camera Bodies: Full-Frame vs. Crop Sensor
The choice between a full-frame and a crop-sensor camera body impacts various aspects of photography. Full-frame cameras, with their larger sensors, generally offer superior low-light performance, better dynamic range, and a wider field of view for a given focal length compared to crop-sensor cameras. This often translates to cleaner images at high ISOs and more flexibility in post-processing. However, full-frame systems tend to be heavier, more expensive, and their lenses can also be larger and more costly. Crop-sensor cameras, while having a narrower field of view (a “crop factor” effectively makes lenses appear to have a longer focal length), are often lighter, more affordable, and can be advantageous for wildlife photographers seeking to maximize their reach with telephoto lenses. The decision often depends on budget, portability requirements, and specific photographic priorities.
Lenses: The Right Tool for the Job
The lens is arguably more critical than the camera body in shaping the final image. A diverse range of lenses serves different purposes in nature photography.
- Wide-angle lenses (14mm-35mm): Ideal for grand landscapes, capturing expansive scenes, and emphasizing foreground elements. They are characterized by a wide field of view and often excellent depth of field.
- Standard zoom lenses (24-70mm, 24-105mm): Versatile workhorses for general nature photography, offering a good balance between wide-angle and short telephoto capabilities.
- Telephoto zoom lenses (70-200mm, 100-400mm, 150-600mm): Essential for wildlife photography, allowing photographers to capture distant subjects without disturbing them. They compress perspective and can create pleasing background blur.
- Macro lenses: Specifically designed for extreme close-up photography, enabling the capture of intricate details of insects, flowers, and other small subjects with high magnification.
- Prime lenses: Lenses with a fixed focal length (e.g., 50mm f/1.8, 85mm f/1.4). Known for their superior sharpness, wider apertures (leading to better low-light performance and shallower depth of field), and often more compact size, but lack the versatility of zooms.
Tripods and Other Accessories
A sturdy tripod is indispensable for sharp images, especially when using slow shutter speeds, long telephoto lenses, or in low light. It minimizes camera shake and allows for precise composition. Other essential accessories include:
- Remote shutter release: Prevents camera shake when tripping the shutter, particularly useful for long exposures.
- Filters:
- Polarizing filters: Reduce glare from non-metallic surfaces (water, foliage), enhance color saturation, and deepen blue skies.
- Neutral Density (ND) filters: Reduce the amount of light entering the lens without affecting color, allowing for longer shutter speeds in bright conditions (e.g., for silky smooth water).
- Graduated Neutral Density (GND) filters: Have a graduated darkening effect, balancing exposure between a bright sky and a darker foreground in landscape photography.
- Extra batteries and memory cards: Essential for extended shoots in remote locations.
- Cleaning kit: To maintain lenses and camera sensor.
- Weather protection: Rain covers for camera and lens, and appropriate clothing for the photographer.
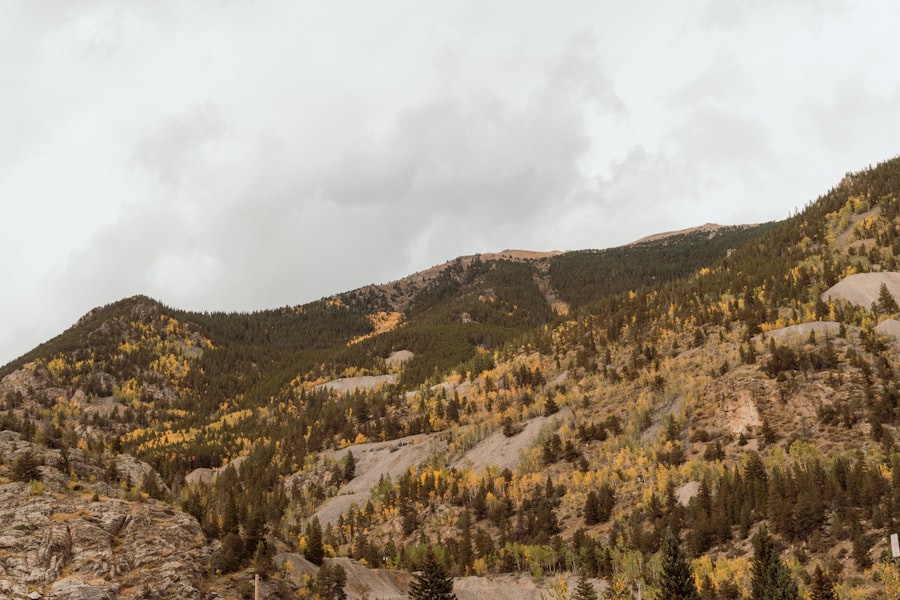
Compositional Techniques for Impactful Images
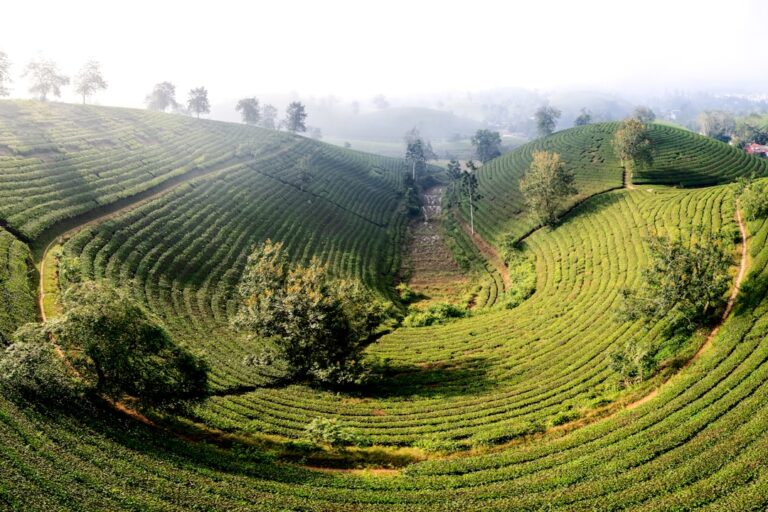
Composition is the art of arranging visual elements within the frame to create a compelling and harmonious image. While rules can be bent, understanding fundamental compositional techniques provides a solid starting point.
The Rule of Thirds
One of the most frequently cited compositional guidelines, the rule of thirds involves dividing the image into nine equal segments using two horizontal and two vertical lines. Placing key subjects or points of interest along these lines or at their intersections often creates more balanced and engaging compositions than simply centering the subject. This approach encourages the photographer to think about negative space and how elements interact within the frame.
Leading Lines and S-Curves
Leading lines are elements within the scene, such as fences, rivers, roads, or patterns, that naturally draw the viewer’s eye through the photograph, guiding them towards the main subject or through the landscape. S-curves, a specific type of leading line, provide a graceful and dynamic visual flow that can add depth and elegance to an image, often found in winding paths or meandering rivers. Utilizing these elements effectively can create a sense of depth and guide the viewer’s gaze, enhancing the narrative of the image.
Framing and Depth
Framing involves using natural elements within the scene (e.g., tree branches, archways, rock formations) to create a “frame” around the main subject. This technique draws attention to the subject, adds context, and can create a sense of depth and separation from the background. Creating depth in a two-dimensional image is crucial. Techniques include:
- Foreground interest: Placing an interesting element in the foreground to draw the viewer in.
- Midground and background separation: Using aperture to control depth of field or finding natural layers in the landscape.
- Converging lines: Using linear perspective to create a sense of distance.
- Atmospheric perspective: Haze or fog in the distance making objects appear lighter and less saturated.
Repetition and Patterns
The human eye is drawn to repetition and patterns. Incorporating natural patterns – like the scales of a reptile, the veins of a leaf, or the ripple marks in sand – can create visually striking and aesthetically pleasing compositions. Breaking a pattern with a unique element can also be a powerful compositional tool, drawing immediate attention to that anomaly.
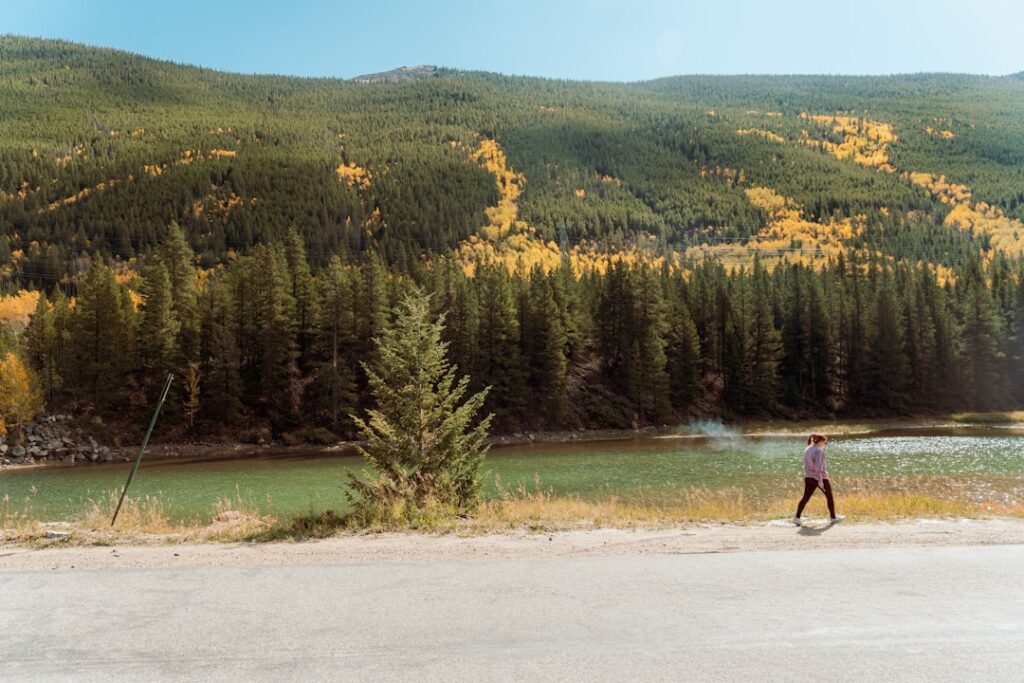
Harnessing Natural Light
Light is the essence of photography. Understanding how to work with natural light is perhaps the most critical skill for a nature photographer. The quality, direction, and color of light can transform a mundane scene into an extraordinary one.
Golden Hour: The Photographer’s Delight
The “golden hour” occurs shortly after sunrise and before sunset. During these periods, the sun is low on the horizon, producing soft, warm, diffused light with elongated shadows. This type of light is highly flattering, adding depth, texture, and a rich, golden hue to landscapes, portraits, and wildlife. The softened contrast and gentle modeling of subjects make it a preferred time for many photographers. Planning shoots around these times can significantly improve the quality and mood of images.
Blue Hour: Serenity and Cool Tones
The “blue hour” is the period just before sunrise and immediately after sunset, when the sun is below the horizon but still illuminating the sky. During this time, the light takes on a cool, ethereal blue tone. It can create incredibly atmospheric and serene images, particularly in urban landscapes with artificial lights or natural scenes that benefit from a tranquil mood. While often overlooked, the blue hour offers unique opportunities for creating dramatic and moody photographs.
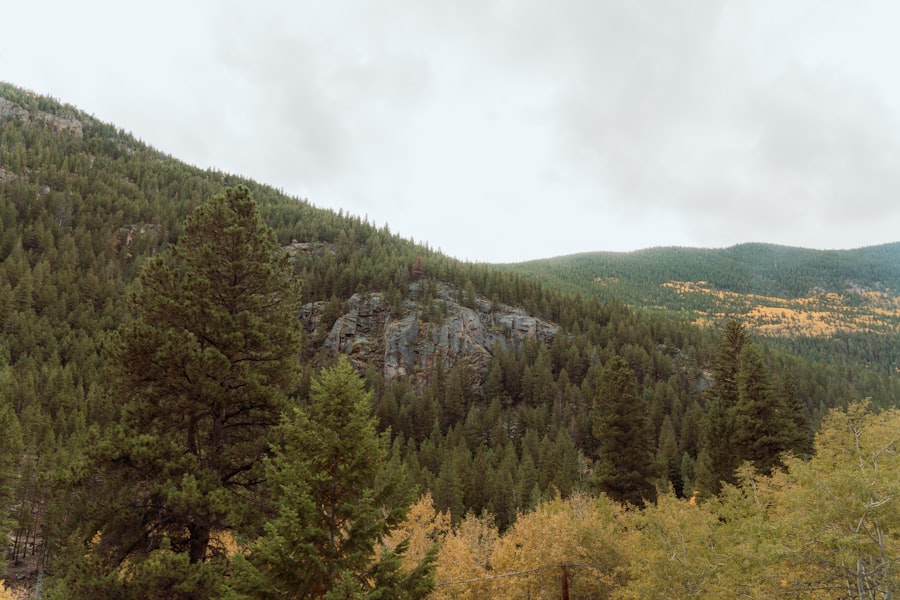
Overcast Days: Soft and Even Illumination
While many photographers chase the dramatic light of golden hour, overcast days offer their own distinct advantages. The clouds act as a giant softbox, diffusing the sunlight and creating soft, even illumination with minimal harsh shadows. This makes overcast days ideal for capturing details in forests, waterfalls, and close-up subjects like flowers, where harsh light would create blown highlights and blocked shadows. The subdued light also enhances color saturation, making colors appear richer and more vibrant.
Dealing with Harsh Midday Sun
The midday sun, particularly in clear conditions, is generally considered the most challenging light for photography. It creates strong, unflattering shadows, high contrast, and washed-out colors. However, it is not always possible to avoid shooting during these hours. Strategies for managing harsh midday light include:
- Seeking shade: Positioning subjects in open shade provides softer, more even light.
- Using diffusers: Portable diffusers can soften harsh sunlight on close-up subjects.
- Fill flash: A subtle fill flash can open up shadows on subjects.
- High Dynamic Range (HDR) techniques: Taking multiple exposures and blending them can capture detail in both highlights and shadows.
- Embracing contrast: Sometimes, the high contrast can be used creatively to emphasize textures or patterns, especially in black and white photography.
Post-Processing: Refining Your Vision
| Location | Duration | Price | Difficulty |
|---|---|---|---|
| Yellowstone National Park | 5 days | 1500 | Intermediate |
| Patagonia, Chile | 10 days | 2500 | Advanced |
| Maasai Mara, Kenya | 7 days | 2000 | Intermediate |
Post-processing is an integral part of modern nature photography, allowing photographers to refine their images, correct imperfections, and bring their artistic vision to fruition. It is not about creating something that wasn’t there, but rather enhancing what was captured by the camera.
Essential Software and Workflow
Adobe Lightroom Classic and Photoshop are industry standards for nature photography. Lightroom is excellent for organizing, cataloging, and making global adjustments to large batches of images, while Photoshop offers more precise, pixel-level manipulation and advanced compositing capabilities. A typical workflow involves:
- Ingestion: Importing images into Lightroom.
- Culling: Selecting the best images and rejecting poor ones.
- Basic adjustments (Lightroom): Correcting exposure, contrast, white balance, highlights, shadows, whites, blacks, and clarity.
- Targeted adjustments (Lightroom/Photoshop): Using local adjustment brushes, radial filters, or gradients to refine specific areas.
- Color correction: Fine-tuning hues, saturation, and luminance of individual colors.
- Sharpening and noise reduction: Applying these selectively and appropriately.
- Export: Preparing images for their intended use (web, print, etc.).
Color Correction and Grading
Color correction involves ensuring the colors in the image are accurate and natural-looking. This includes setting the correct white balance initially. Color grading, on the other hand, is a more artistic process of manipulating the overall color palette and tones to evoke a specific mood or aesthetic. This can involve adjusting the color temperature, tint, HSL (Hue, Saturation, Luminance) sliders, and split toning to achieve a desired look. Understanding color theory can greatly enhance a photographer’s ability to create cohesive and emotionally resonant images.
Sharpening and Noise Reduction
Sharpening enhances edge contrast, making an image appear crisper. It is crucial to apply sharpening judiciously and often as a final step in post-processing, as over-sharpening can introduce artifacts. Noise reduction aims to minimize the grainy appearance caused by high ISO settings. Like sharpening, it should be applied carefully, as aggressive noise reduction can lead to a loss of fine detail and a “plasticky” look. Many software programs offer selective noise reduction, allowing photographers to target specific areas without impacting the entire image.
Local Adjustments and Dodging/Burning
Local adjustments allow photographers to make specific changes to only certain parts of an image without affecting others. Tools like adjustment brushes, gradient filters, and radial filters in Lightroom and Photoshop enable targeted control over exposure, contrast, clarity, and other parameters. Dodging (lightening) and burning (darkening) are classic darkroom techniques that have been digitized. They are powerful tools for guiding the viewer’s eye, adding dimension, and emphasizing specific elements within the frame. Careful and subtle application of these techniques can significantly enhance an image’s impact.
In conclusion, mastering nature photography is a continuous journey of learning and practice. It involves understanding the technical intricacies of exposure, selecting appropriate gear, applying sound compositional principles, harnessing the power of natural light, and refining images through thoughtful post-processing. By diligently applying these principles, photographers can elevate their craft, capture the profound beauty of the natural world, and share their unique perspective with others.
FAQs
What is nature photography?
Nature photography is the art of capturing images of the natural world, including landscapes, wildlife, plants, and natural scenes. It often involves capturing the beauty and diversity of the outdoors.
What are nature photography trips?
Nature photography trips are organized excursions to natural locations, such as national parks, wildlife reserves, and scenic landscapes, with the purpose of capturing images of the natural world. These trips are often led by professional photographers or guides who provide instruction and guidance on capturing the best images.
What are the benefits of nature photography trips?
Nature photography trips offer the opportunity to explore and experience the beauty of the outdoors while improving photography skills. They provide access to stunning natural landscapes and wildlife, allowing photographers to capture unique and compelling images.
What equipment is needed for nature photography trips?
Common equipment for nature photography trips includes a digital camera, interchangeable lenses, a tripod, filters, and a camera bag. Depending on the specific trip and subjects being photographed, additional equipment such as a telephoto lens for wildlife photography or a wide-angle lens for landscapes may be beneficial.
How can I prepare for a nature photography trip?
To prepare for a nature photography trip, it’s important to research the location and its natural features, pack appropriate gear and clothing, and familiarize yourself with photography techniques such as composition, lighting, and exposure. Additionally, it’s helpful to be physically prepared for outdoor activities and to be respectful of the natural environment and wildlife.