A leaky faucet is not just an annoyance; it can also lead to wasted water and higher utility bills. Fortunately, fixing a leaky faucet is a simple DIY task that requires minimal tools and effort. This step-by-step guide will walk you through the process of identifying the problem and repairing the leak.
Common Causes of a Leaky Faucet
Before diving into repairs, it’s important to understand what might be causing the leak. Common causes include:
- Worn-out washers – Over time, rubber washers can degrade and no longer form a tight seal.
- Damaged O-rings – The small rubber ring inside the faucet handle can wear out, causing leaks.
- Corroded valve seat – Mineral buildup can cause corrosion, leading to leakage.
- Loose or broken parts – General wear and tear can loosen internal components.
Tools and Materials Needed
Before starting, gather the following tools and materials:
- Adjustable wrench
- Phillips and flathead screwdrivers
- Replacement washers and O-rings
- Plumber’s tape
- White vinegar (for cleaning corrosion)
- Bucket or towel (to catch water drips)
Step-by-Step Guide to Fixing a Leaky Faucet
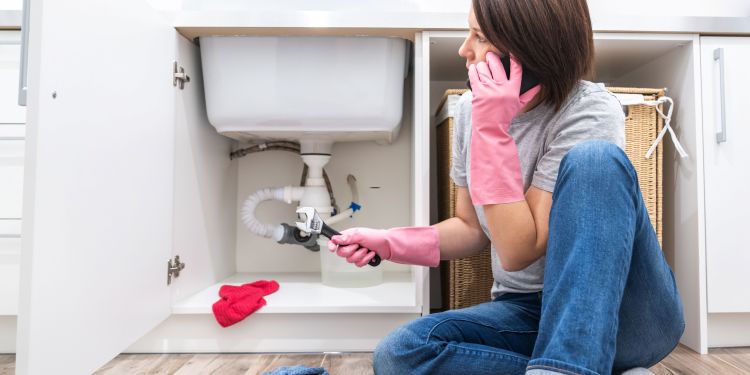
Step 1: Turn Off the Water Supply
Locate the shut-off valves under the sink and turn them clockwise to shut off the water supply. If you can’t find them, turn off the main water supply to your home.
Step 2: Plug the Drain
Use a sink stopper or a rag to cover the drain. This prevents small parts from falling in while you work.
Step 3: Remove the Faucet Handle
Use a screwdriver to loosen the handle screw. Once removed, gently pull the handle off to expose the inner components.
Step 4: Disassemble the Faucet
Depending on the type of faucet (compression, ball, cartridge, or ceramic disk), use an adjustable wrench to remove the packing nut and access the stem or cartridge inside.
Step 5: Inspect and Replace Worn Parts
Examine washers, O-rings, and seals for wear and tear. If any part looks worn, replace it with an identical one from a hardware store.
Step 6: Clean the Components
If mineral buildup is present, soak parts in white vinegar for about 15 minutes and scrub with a brush.
Step 7: Reassemble the Faucet
Put all components back in place, ensuring they are tightly secured but not over-tightened.
Step 8: Turn the Water Supply Back On
Slowly turn on the water supply and test the faucet. Check for any remaining leaks and tighten as necessary.
Preventative Maintenance Tips
To avoid future leaks, consider these tips:
- Regularly clean your faucet to prevent mineral buildup.
- Avoid using excessive force when turning the faucet on or off.
- Replace washers and O-rings as part of routine maintenance.
- Check for leaks periodically to catch small issues before they worsen.
By following these steps, you can fix a leaky faucet quickly and efficiently, saving water and money while maintaining your plumbing in top condition.